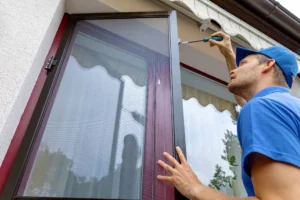
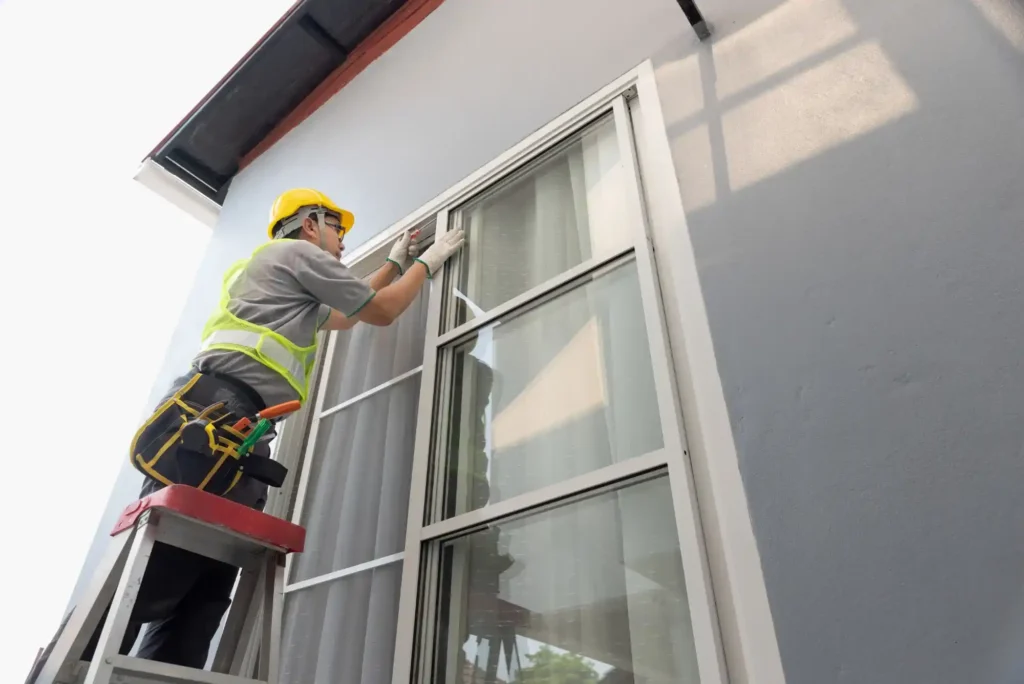
Fly screens are an essential addition to homes, particularly in regions like Dubai where the climate and environment can invite a variety of insects. Installing a fly screen effectively can help keep your living spaces free from unwanted pests while allowing fresh air to circulate. This guide will walk you through the process of installing a fly screen on a window or door, offering practical tips and insights to ensure a successful setup.
What is a Fly Screen?
A fly screen, sometimes called a mosquito net or insect screen, is a mesh barrier placed over windows and doors to prevent insects from entering your home. While its primary function is to keep bugs out, it also facilitates ventilation, making it an invaluable addition to any home, especially in climates like Dubai where insect activity can be high.
Why Install a Fly Screen?
In Dubai, where the hot and humid climate can attract various insects, a fly screen is not just a convenience—it’s a necessity. By installing a fly screen, you can prevent insect infestations, improve airflow, and enhance your overall comfort.
Types of Fly Screens
Before you start the installation process, it’s important to understand the different types of fly screens available. Fixed fly screens are designed to be permanently installed and provide a robust barrier against insects, though they are less flexible for accessing windows or doors. Retractable fly screens offer more flexibility and can be pulled down or rolled up when not in use, making them ideal for high-traffic areas.
Magnetic fly screens use magnets to attach to the frame, allowing for easy removal and cleaning. Sliding fly screens are designed specifically for sliding doors and moving along a track, providing an easy solution for spaces where a retractable screen might not be practical.

Tools and Materials Needed
To successfully install a fly screen, you will need a fly screen kit, which typically includes the screen mesh, frame, and necessary hardware. You should also have a measuring tape to get accurate dimensions of your window or door, scissors to trim the screen mesh, a screwdriver for assembling the frame and securing it, and a drill if required for attaching the frame.
Additionally, a level will help ensure the screen is installed evenly. Depending on the type of fly screen you choose, you may need adhesive or magnetic strips for installation.
Step-by-Step Installation Guide
Start by measuring the dimensions of the window or door where you plan to install the fly screen. For accurate measurements, take readings at multiple points to account for any irregularities and use the smallest measurement to ensure a snug fit. Select a fly screen that matches these dimensions, keeping in mind that a fine mesh is preferable in Dubai to effectively block smaller insects while allowing ventilation.
If you are using a fixed fly screen, begin by assembling the frame according to the manufacturer’s instructions. Most kits come with pre-cut pieces that need to be joined together. Once the frame is assembled, fit the mesh onto the frame using the provided clips or staples, ensuring it is taut and covers the entire frame without gaps. Position the assembled frame into the window or door opening, and secure it using screws or adhesive strips. Make sure it is level and firmly in place.
For retractable fly screens, attach the top and bottom tracks to the window or door frame, ensuring they are aligned properly. Once the tracks are installed, fit the screen into them and test its operation to make sure it slides smoothly.
If you are using a magnetic fly screen, start by sticking the magnetic strips around the perimeter of the window or door frame, making sure they are applied evenly. Align the fly screen with the magnetic strips and press it into place, ensuring the magnets hold the screen firmly against the frame.
For sliding fly screens, attach the top and bottom rails to the door frame, making sure they are level and properly aligned. Then, hang the screen into the rails and test the sliding mechanism to ensure it moves smoothly and aligns correctly.
After installing the fly screen, trim any excess mesh around the edges. Make sure the screen fits snugly and there are no gaps where insects could enter. Adjust the frame or screen as needed to ensure a perfect fit. Open and close the window or door to check that the fly screen operates correctly. Verify that it remains in place and functions smoothly without obstructing the opening or closing.
Maintenance and Care
To keep your fly screen in optimal condition, regular maintenance is essential. Clean the mesh regularly to maintain clear visibility and effectiveness, using a mild detergent and a soft brush or cloth to remove dirt and debris. Periodically inspect the screen for any holes or tears and repair or replace it as needed to ensure it continues to serve its purpose effectively. Additionally, check that the frame remains securely attached and aligned, tightening any loose screws and making adjustments as necessary.
Installing a Dubai Fly screen on your window or door is a straightforward process that can greatly enhance your comfort and well-being, particularly in insect-prone areas like Dubai. By understanding the different types of fly screens and following the detailed installation steps outlined above, you can ensure that your fly screen functions effectively and provides lasting protection against pests.
Whether you choose a fixed, retractable, magnetic, or sliding fly screen, proper installation and maintenance are key to enjoying a bug-free home. With the right tools, a bit of patience, and attention to detail, you can achieve a successful installation that keeps your indoor environment pleasant and insect-free.
For those who prefer professional assistance, many local services in Dubai offer expert installation and can help you select the ideal fly screen for your needs. Investing in a high-quality fly screen and ensuring its proper installation will provide you with a comfortable and enjoyable living space year-round.


